Setting up a Raspberry Pi can be as straightforward or as complicated as you make it. Most people flash an SD card, plug it in, and call it a day. That works fine for hobbyists, but it becomes frustrating once you start running several devices or need to rebuild them often. After replacing and reinstalling too many cards, I started looking for something better.
Every Pi on my network now boots exactly the same way, which keeps my entire environment consistent and predictable.
我网络上的每台 Pi 现在都以完全相同的方式启动,这让我的整个环境保持了一致性和可预测性。
Booting my Raspberry Pi over the network changed how I manage every device I own. It eliminated one of the most fragile parts of the setup and gave me far more flexibility. It took a bit of learning to configure it all, but the effort paid off almost immediately. I now spend less time fixing problems and more time experimenting with new ideas.
通过网络启动 Raspberry Pi 改变了我管理所有设备的方式。它消除了设置中最脆弱的部分之一,给了我更大的灵活性。配置这一切需要一些学习,但努力几乎立刻就有了回报。现在,我花在解决问题上的时间更少了,花在尝试新想法上的时间更多了。
Why I moved to network booting
我为什么转向网络引导
Flashing cards was slowing me down
闪卡拖慢了我的速度
SD cards are convenient until they start failing. Over time, they degrade from the constant read and write activity, and when that happens, you risk data corruption or total loss. For someone who runs services like Home Assistant, Pi-hole, and Uptime Kuma, that’s not something you want to deal with. I reached a point where re-imaging cards had become a regular chore, and it was apparent that I needed a better approach. Switching to an SSD helped, but not all my Pi boards support that.
SD 卡在开始失效之前都很方便。随着时间的推移,SD 卡会因不断的读写活动而老化,一旦出现这种情况,数据就有可能损坏或完全丢失。对于运行家庭助理、Pi-holes 和 Uptime Kuma 等服务的人来说,这可不是你想要面对的问题。到了后来,重新映像卡成了我的家常便饭,显然我需要一个更好的方法。改用固态硬盘有所帮助,但并非所有 Pi 板都支持固态硬盘。
This setup also meant I could stop buying SD cards altogether. That might sound like a small win, but it saves money and reduces waste over time. More importantly, it removes a constant maintenance burden from the equation. Every Pi on my network now boots exactly the same way, which keeps my entire environment consistent and predictable. The result is less downtime and a much cleaner workflow.
这种设置还意味着我可以完全停止购买 SD 卡。这听起来可能只是一个小小的胜利,但却能节省开支,减少长期浪费。更重要的是,它消除了持续维护的负担。我网络上的每台 Pi 现在都以完全相同的方式启动,这让我的整个环境保持了一致性和可预测性。这样一来,停机时间减少了,工作流程也更整洁了。
Centralized management made life easier
集中管理让生活更轻松
Managing multiple Raspberry Pis used to be messy. Each device had its own card, configuration, and quirks. Even labeling everything didn’t help much when one of them failed, because recovery always meant rebuilding from scratch. Once I switched to network booting, that entire process improved.
管理多台 Raspberry Pis 曾经很混乱。每个设备都有自己的卡、配置和怪癖。即使把所有东西都贴上标签也无济于事,因为当其中一个出现故障时,恢复总是意味着从头开始。一旦我改用网络启动,整个过程都得到了改善。
Now, I can create or clone complete environments in minutes. If I want to test a new configuration or service, I simply copy the image, tweak a few settings, and reboot the device. If something breaks, I restore the image from a backup, and everything is right where it was. It’s an incredibly efficient way to experiment without risk, and it makes tinkering feel less like work.
现在,我可以在几分钟内创建或克隆完整的环境。如果我想测试新的配置或服务,只需复制镜像,调整一些设置,然后重启设备即可。如果出现故障,我只需从备份中恢复镜像,一切就会恢复原状。这是一种非常高效的无风险实验方式,让修修补补的工作变得不那么枯燥。
Performance and reliability both improved
性能和可靠性均有提高
One of the most noticeable improvements was speed. Even though the Pi boots over Ethernet, read and write performance is far better than I’ve ever seen with SD cards. System updates apply faster, logs write more consistently, and services start without delay. It feels smoother, especially when working with heavier tasks like database-driven apps or media servers.
最明显的改进之一是速度。尽管 Pi 是通过以太网启动的,但读写性能却比我使用 SD 卡时好得多。系统更新应用更快,日志写入更稳定,服务启动无延迟。感觉更流畅了,尤其是在处理较繁重的任务(如数据库驱动的应用程序或媒体服务器)时。
Reliability also improved across the board. Since the image lives on a more stable storage medium inside my NAS, I no longer worry about random corruption or card wear. I can also snapshot the entire system and roll it back to any previous state in seconds. That makes updates much less stressful, since recovery is always just one click away.
可靠性也全面提高。由于镜像保存在 NAS 内更稳定的存储介质上,我不再担心随机损坏或存储卡磨损。我还可以对整个系统进行快照,并在几秒钟内将其恢复到以前的任何状态。这样一来,更新的压力就小多了,因为只需点击一下即可恢复。
What you need to make it work
你需要什么来实现它
Hardware and network requirements
硬件和网络要求
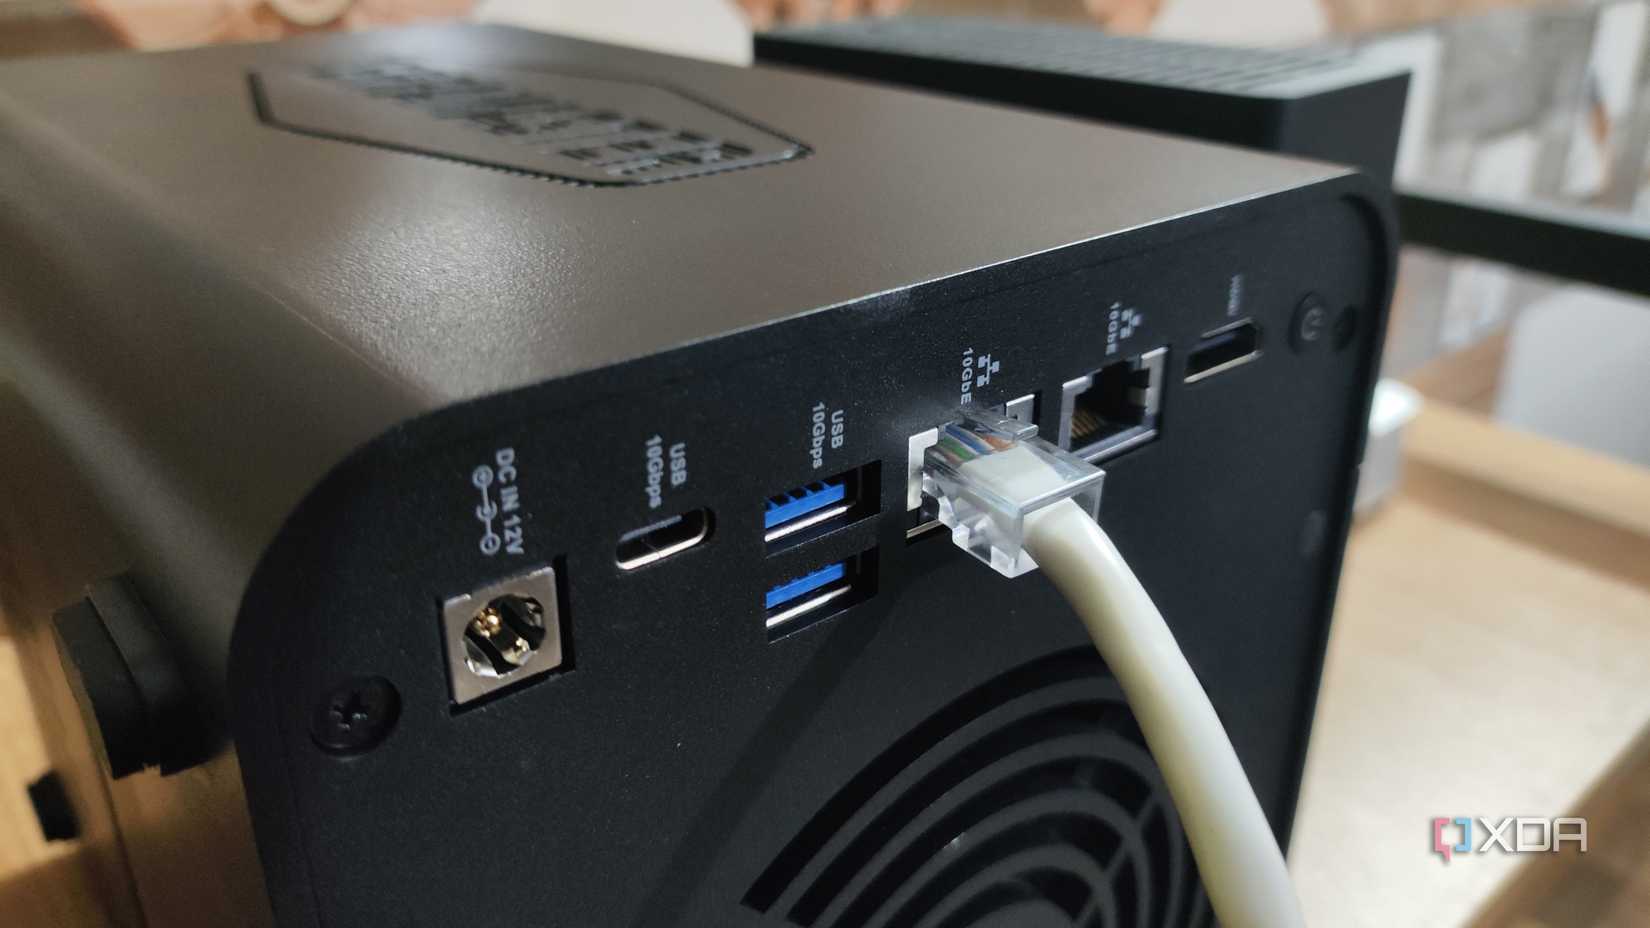
Before you start, it’s essential to know which models support network booting. The Raspberry Pi 4 and Raspberry Pi 5 can both do it natively once the bootloader EEPROM is updated. The Raspberry Pi 3 Model B can, as well, with some command-line trickery to ensure the USB boot mode is correctly set. You’ll need a wired Ethernet connection, a DHCP server, and a TFTP or NFS server to provide the boot files. Wireless booting isn’t supported yet, so a stable network cable is essential to ensure a smooth startup.
在开始之前,有必要了解哪些型号支持网络启动。更新引导加载器 EEPROM 后,Raspberry Pi 4 和 Raspberry Pi 5 都能原生支持网络启动。Raspberry Pi 3 Model B 也可以,但需要使用一些命令行技巧来确保 USB 启动模式设置正确。你需要有线以太网连接、DHCP 服务器和 TFTP 或 NFS 服务器来提供启动文件。目前还不支持无线启动,因此稳定的网线对确保顺利启动至关重要。
As you explore how best to network boot your Raspberry Pi, be sure to look closely at which version of the Raspberry Pi OS you use. Boot options moved to /boot/firmware as of Raspberry Pi OS 12 (Bookworm), and other changes might be included in the newest version, Trixie.
在探索如何以最佳方式通过网络启动 Raspberry Pi 时,请务必仔细查看所使用的 Raspberry Pi OS 版本。从 Raspberry Pi OS 12 (Bookworm) 开始,启动选项移到了 /boot/firmware,最新版本 Trixie 可能会有其他变化。
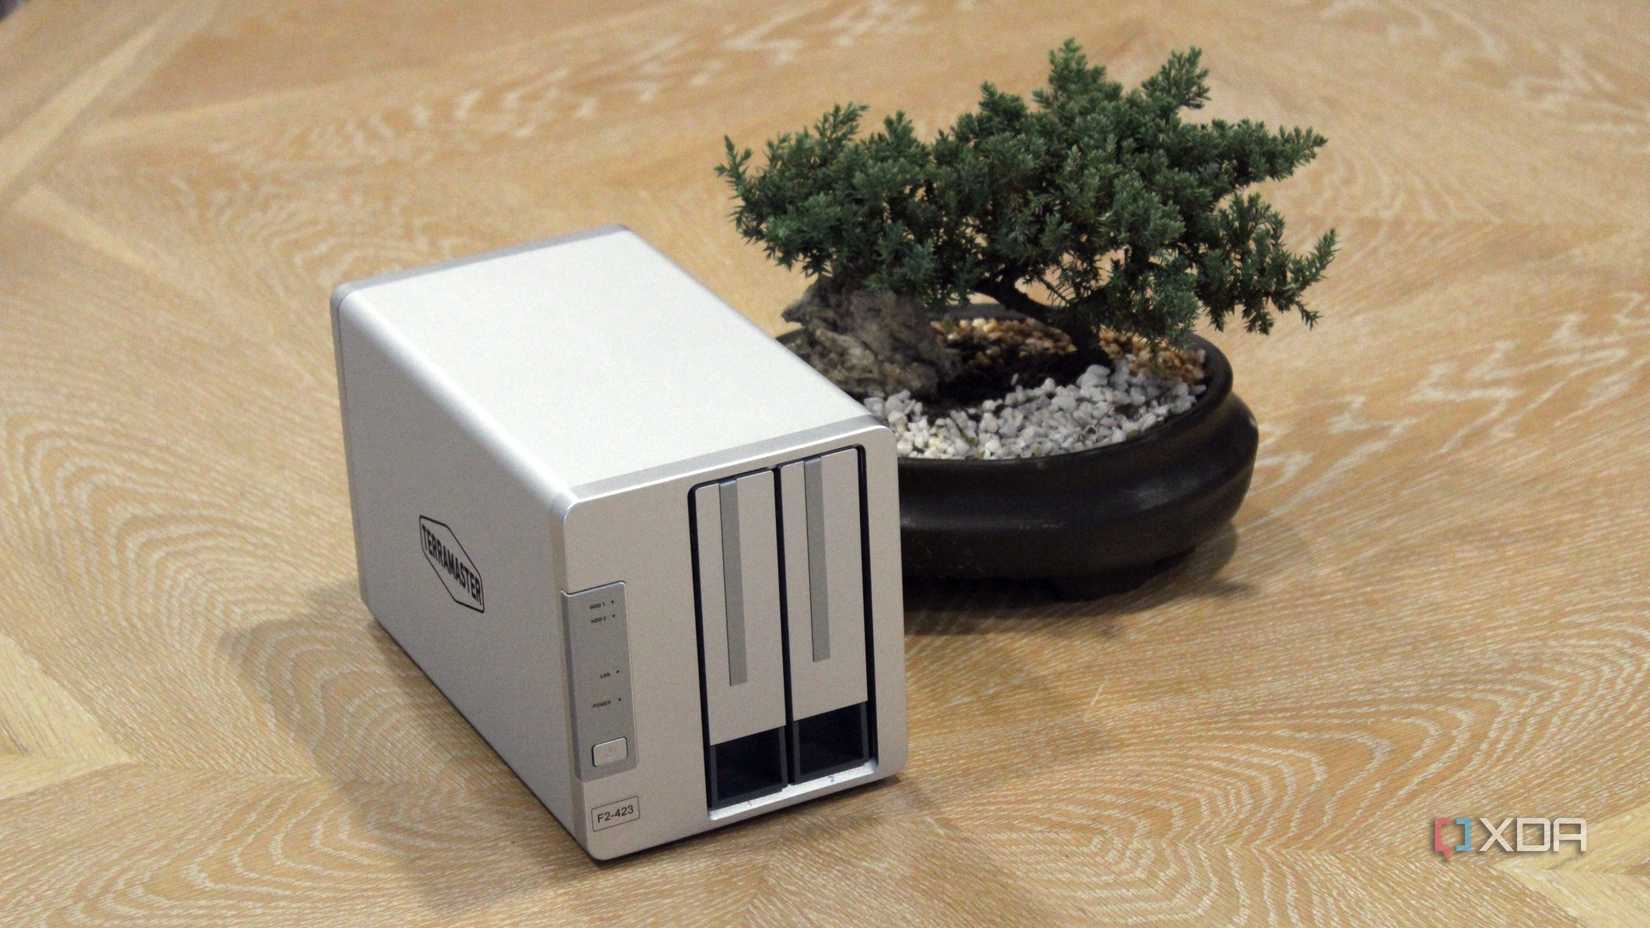
Having a NAS or home server helps a lot. It acts as the central repository for your Raspberry Pi images and handles file delivery during boot. The faster your network and storage, the better the results you’ll see in day-to-day performance. Gigabit Ethernet makes a noticeable difference, especially if you’re running multiple Pis from the same image or mounting shared directories across devices.
拥有 NAS 或家庭服务器大有裨益。它可以充当 Raspberry Pi 映像的中央存储库,并在启动过程中处理文件传输。网络和存储速度越快,日常性能就越好。千兆以太网能带来明显的不同,尤其是当你从同一个镜像运行多个 Pis 或在设备间挂载共享目录时。
Setting up the boot environment
设置启动环境
Once you’ve confirmed that your hardware supports it, the next step is to enable network booting in the Pi’s bootloader. This can be done through the Raspberry Pi Imager or by running a simple terminal command to change the EEPROM settings. From there, you’ll configure your server to host the OS image using either NFS or TFTP, depending on your network setup.
确认硬件支持网络启动后,下一步就是在 Pi 的引导加载程序中启用网络启动。这可以通过 Raspberry Pi Imager 或运行简单的终端命令更改 EEPROM 设置来完成。然后,根据网络设置,使用 NFS 或 TFTP 配置服务器以托管操作系统映像。
Your Pi will then locate the boot files over the network and start the operating system as if it were booting from an SD card. You can assign each device its own image or point several devices to the same one for a unified environment. I prefer keeping separate directories for each Pi to make troubleshooting easier, but either method works well. Once you’ve got the hang of it, the process feels surprisingly straightforward.
然后,Pi 将通过网络找到启动文件,并启动操作系统,就像从 SD 卡启动一样。你可以为每台设备分配自己的镜像文件,也可以将多台设备指向同一个镜像文件,以获得统一的环境。我更喜欢为每台 Pi 保留独立的目录,这样故障排除会更容易,但无论哪种方法都很有效。一旦掌握了窍门,整个过程就会变得出奇的简单。
The process might take some trial and error the first time, but it’s worth the effort. Every subsequent setup becomes faster and more intuitive as you get used to the boot sequence. It’s also an excellent way to learn more about networking and how your Raspberry Pis communicate with each other. You’ll gain a deeper understanding of your system while improving its reliability.
第一次设置时可能需要反复尝试,但这是值得的。当你习惯了启动顺序后,以后的每次设置都会变得更快、更直观。这也是了解网络和 Raspberry Pis 如何相互通信的绝佳方式。在提高系统可靠性的同时,还能加深对系统的了解。
Why it’s worth the effort
为什么值得付出努力
Setting up network booting requires patience, but the payoff makes it worthwhile. You save money on storage, improve consistency, and make recovery far less painful. Even for hobby projects, it’s satisfying to know that every Raspberry Pi you own can rebuild itself automatically from a central image. It turns a cluster of small devices into something that feels coordinated and professional.
设置网络启动需要耐心,但付出是值得的。你可以节省存储费用,提高一致性,并减少恢复的痛苦。即使是业余项目,知道你拥有的每台 Raspberry Pi 都能从中央镜像自动重建,也会令人满意。它能让小型设备集群变得更协调、更专业。
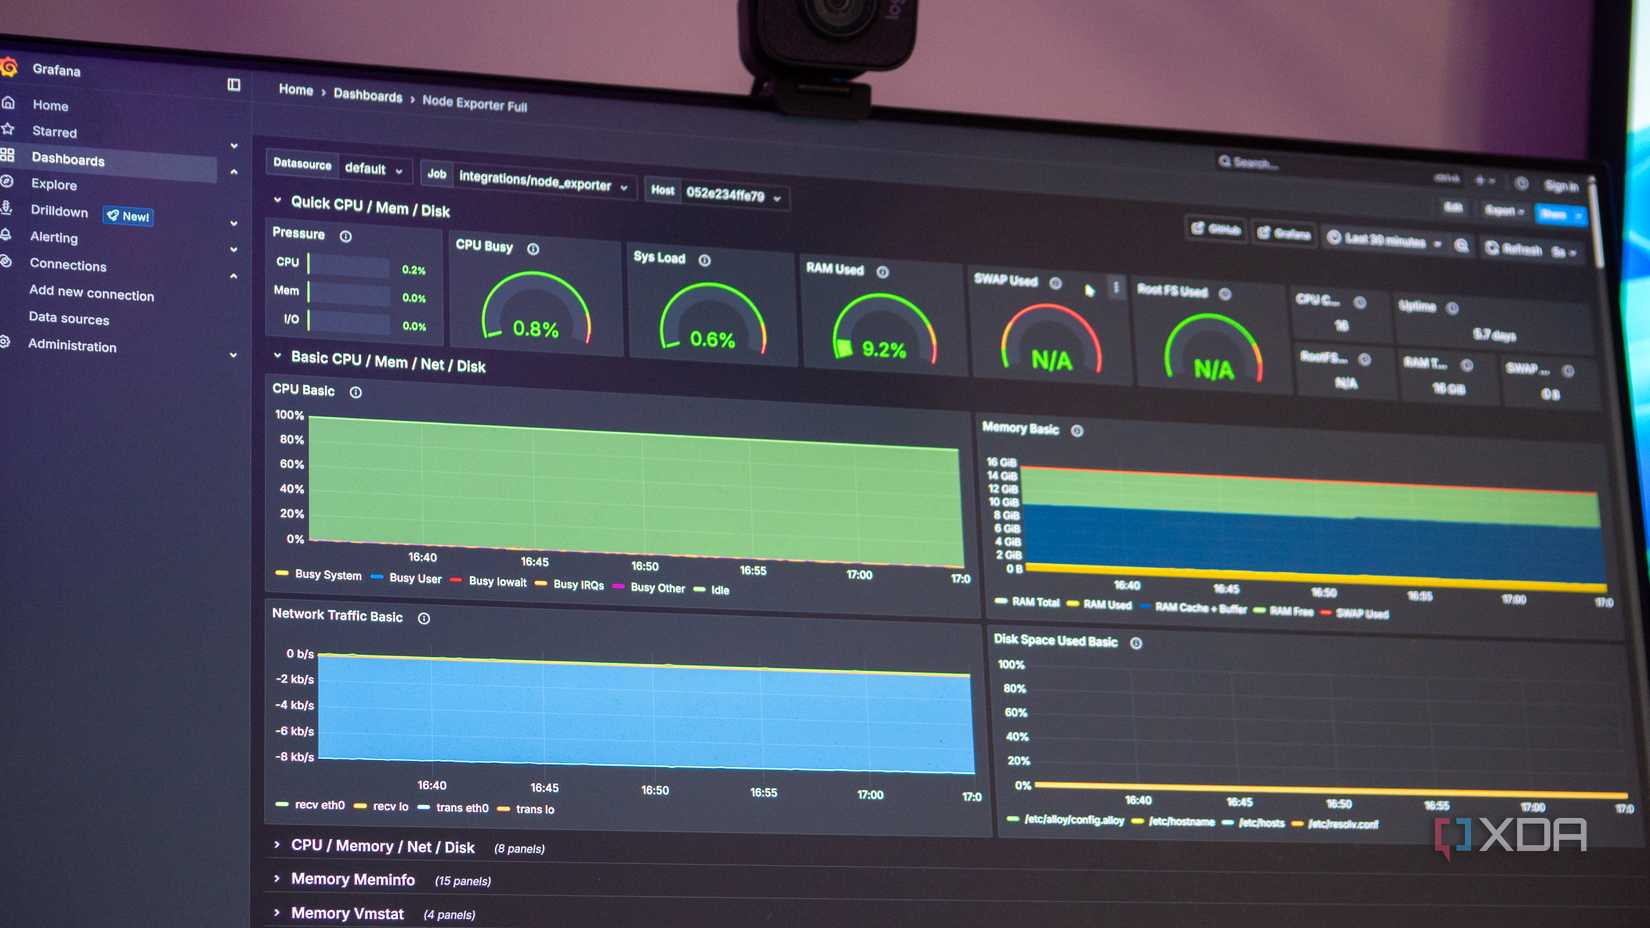
It also opens the door to more advanced setups. You can automate OS provisioning, roll out updates in bulk, or test new releases without risk. Once your devices are network-booted, they’re easier to monitor, maintain, and scale. It’s the kind of change that starts small but grows into something that reshapes your whole workflow.
它还为更高级的设置打开了大门。您可以自动进行操作系统调配,批量推出更新,或无风险地测试新版本。设备一旦启动网络,就更容易监控、维护和扩展。这种变化开始时很小,但发展到一定程度,就会重塑你的整个工作流程。
After living with network booting for a while, I can say it’s one of the most impactful upgrades I’ve made. It simplifies everything—from updates to backups—and keeps my systems running smoothly. For anyone managing multiple devices or running a home lab, this setup will save time and frustration. Once you’ve tried it, going back to SD cards feels like a step backward.
在使用网络启动一段时间后,我可以说这是我所做的最有影响力的升级之一。它简化了一切,从更新到备份,让我的系统运行顺畅。对于管理多台设备或运行家庭实验室的人来说,这种设置将节省时间并减少挫折感。一旦尝试过,再使用 SD 卡就会觉得是一种倒退。


